
Forever Ago's camera controls are best learned through the opening tutorial and the prompts shown in your current scene. The important actions are raising the camera, framing the requested subject, taking the picture, and completing any print or journal step that follows. This guide describes those actions without claiming a universal keyboard or controller binding list that has not been verified for the current build.
A successful shutter press is not the whole process in every scene. The game can also need a particular person, landmark, memory, or developed photograph. If your picture does not advance the objective, first check the subject and the active scene rather than repeatedly pressing the same control.
Let the opening tutorial establish the controls
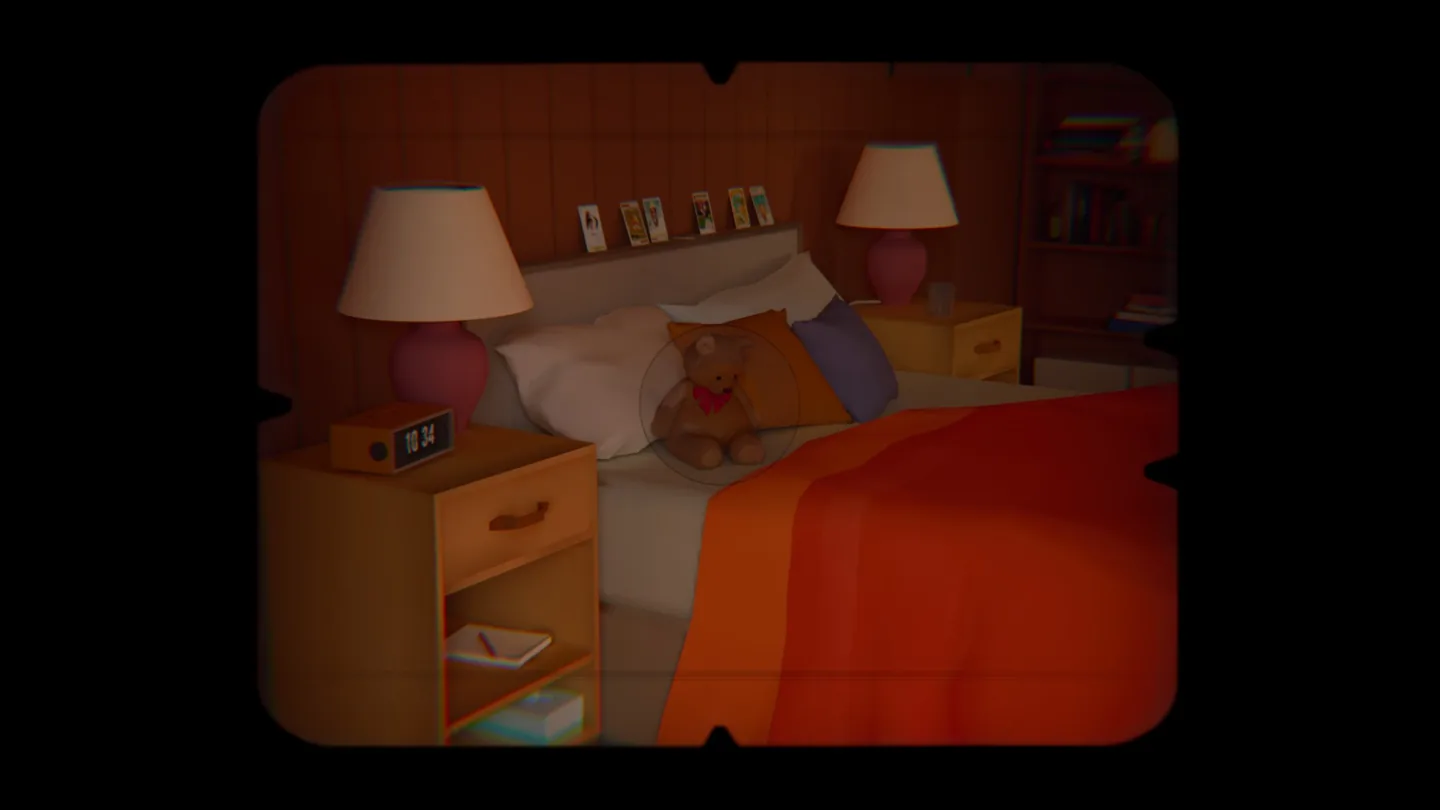
The opening begins with Audrey using the camera in a room. Objects such as the manual, a teddy, wall pictures, and a calendar give the photography sequence identifiable subjects. This is the appropriate place to learn how the game presents its camera controls before later scenes add movement and journal interactions.
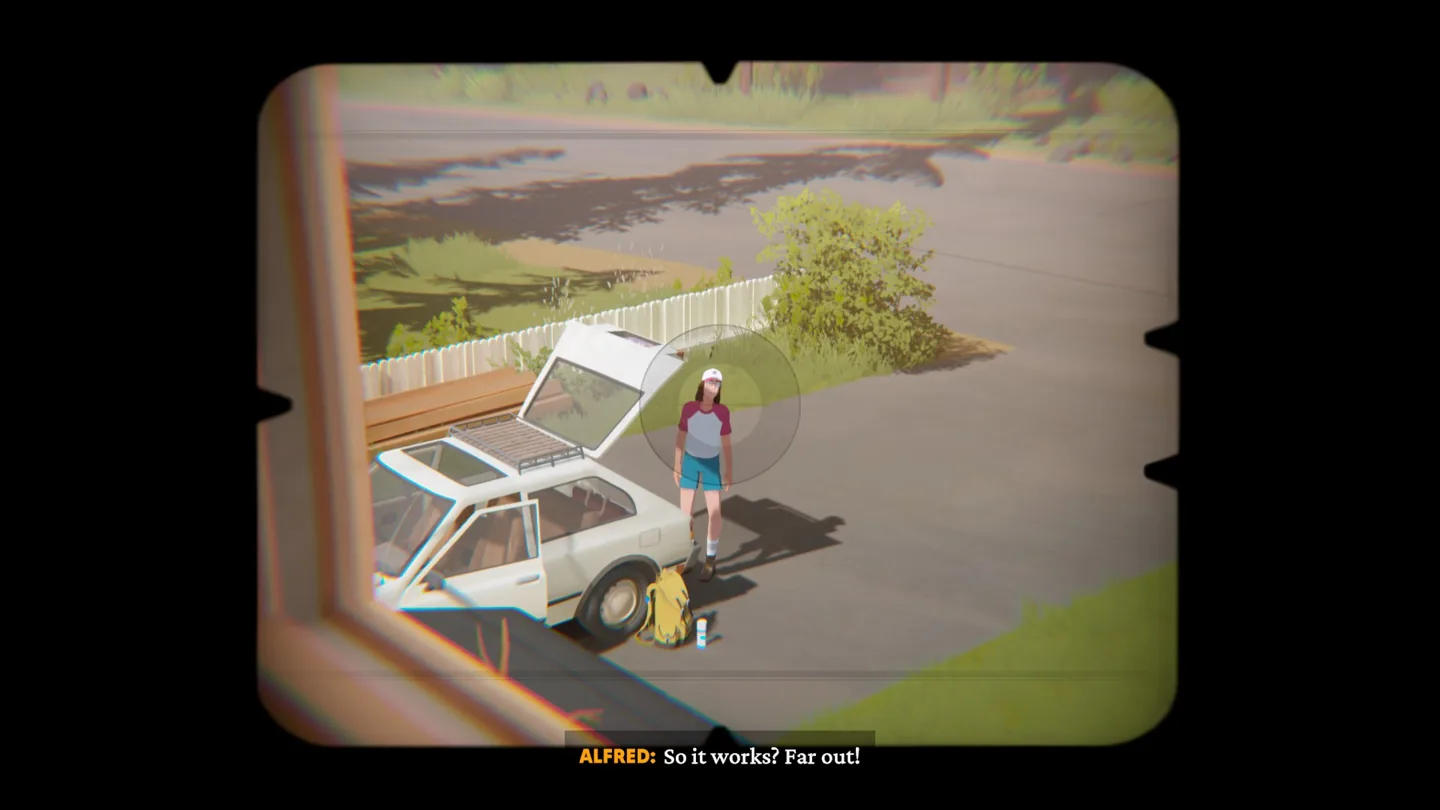
Alfred calls from outside the window and poses for a photograph. That teaches a different kind of subject from an object on a wall: the scene itself directs your attention and the character's pose communicates that it is time to take the shot.
During the drive, the sequence also directs you toward the Woolson Falls sign. Later outdoor photographs include flowers and Alfred. The lesson across these moments is to pair the camera action with the subject the scene has just established. Knowing the shutter control does not remove the need to listen and look.
Read the visible prompt each time the action changes. A control for taking a picture should not be assumed to perform every interaction with a print, object, or journal page. The tutorial is teaching a small sequence of actions, not a single command that completes all photography-related tasks.
Distinguish framing from normal exploration
When Audrey gives the camera to Alfred, the opening shifts into third-person movement. Continue following Audrey along the trail and participating in the conversation. The change is intentional; you have not lost a required permanent first-person view.
Later, normal movement and camera use continue to coexist. You can inspect a place before deciding what to photograph. That distinction matters when you are standing beside an object with a normal interaction prompt: the game may expect you to examine or use it rather than take a picture immediately.
If you are unsure which action is active, look at what the scene currently presents. A person posing, a named view, or a camera appearing during a sequence points toward photography. A door, item, or dialogue interaction may require ordinary exploration first.
Do not try to force camera access during every driving, memory, or transition segment. Some scenes control the viewpoint or wait for dialogue. Let that moment conclude and follow the next prompt rather than treating a temporary change in camera state as evidence that your bindings are wrong.
Frame the subject the scene actually names
A required photograph has a concrete target. In the opening, that can be Alfred outside the window, a trail sign, or flowers close to the ground. Later scenes use other named people, objects, and views. Identify the current target before you press the shutter.
For a small or low subject, change your position rather than accepting a picture where it is obscured. The opening specifically includes crouching to photograph flowers. That demonstrates why movement can be part of framing even when the camera action itself is simple.
If a subject is partly hidden, move enough to see it clearly and then take the shot the scene requests. This is a practical framing method, not a claim that every subject has a particular distance or a hidden percentage meter. The goal is to make the named target recognisable within the current view.
Pay attention to dialogue that changes the target. A character may direct you toward a sign during a ride or pose again after a conversation. Taking a previous subject repeatedly will not necessarily satisfy the new action simply because both moments use the camera.
Finish the print when the scene asks for it
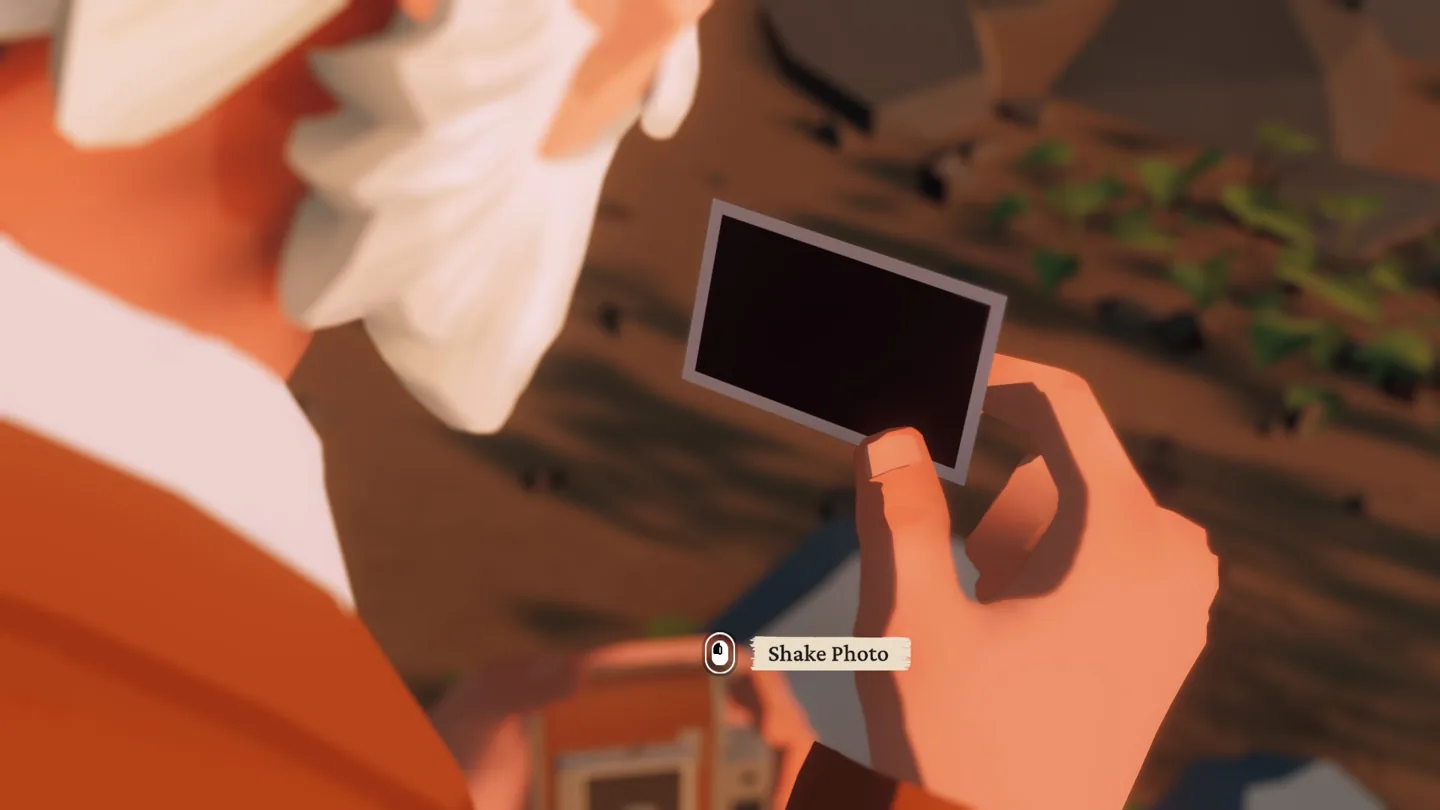
The opening's final photograph is not complete at the shutter alone. Shake the printed picture to develop the image, then open the journal and place it inside. These actions teach the camera's physical connection with the album.
Follow that sequence in order. If you have taken the picture but still see the print or a development prompt, stay with that interaction. Searching the trail for another target will not replace the print action the scene is currently waiting for.
Do not turn the opening demonstration into an unsupported rule that every photograph everywhere must be shaken manually. The reliable procedure is to perform the print action when the scene presents it. Different photography moments can move into memories or other interactions instead.
Likewise, opening the journal can be a separate control from taking the picture. Read its prompt and finish placing the image. That distinction is particularly useful if you expect the photograph to appear automatically and cannot understand why the opening has not ended.
Keep required photos and personal photos separate
The camera also records views you choose during the road trip. A personal travel photograph can be worth keeping in the journal without being the subject of the current objective. That is why taking an attractive landscape does not necessarily move a task forward.
Use the objective or recent dialogue to determine whether you need a specific shot. If nothing has asked for your chosen view, treat it as an optional photograph unless the game gives a clear response indicating otherwise. You can enjoy photography without reading every shutter sound as a progress signal.
At later album moments, the game lets you select up to four pictures for the journal. That is a selection action after photography, so it does not need the same framing behaviour as taking the original image. Follow the album interface and choose the photographs you want to preserve.
Avoid assuming a universal film allowance, deletion rule, or automatic retention of unused pictures. Those details require confirmation in the current interface. For practical play, take deliberate shots of distinct subjects and make the journal choice when the scene offers it.
Photograph memories after the discovery is complete
Optional flower petals lead to memory vignettes. The discovery loop first reveals fragments and then provides a fuller memory to photograph. Raising the camera at an ordinary patch of scenery does not replace gathering the relevant petals.
Look for the newly revealed memory before trying to complete the photo action. The subject is the memory the discovery has assembled, not simply the place where you first noticed a petal. This keeps the search step and photography step in the right order.
The camera's role is similar to a required scene photograph in one respect: you need to act on a specific subject. It differs in how that subject becomes available. For a vignette, exploration and the local petal discovery create the opportunity.
After taking the photograph, allow the memory response to finish. If the sequence transitions or dialogue begins, remain with it. Returning immediately to normal exploration can make it harder to tell whether the discovery was complete or another part of the scene is still unfolding.
Use selfie options when they are available
Selfies add a lighter use of the camera, with facial-expression options giving Alfred a way to appear in the trip's pictures. A later moment with Sam also uses a selfie as part of the scene. Treat that as a specific opportunity rather than assuming every conversation can be interrupted for the same pose.
When a selfie is available, follow the current camera interface. This guide does not substitute a guessed timer, a controller shortcut, or a fixed expression order for what your build actually displays. The visible options are the useful reference at that moment.
The selfie camera view with Milton displays these controller prompts:
| Displayed control | Camera action |
|---|---|
| LS | Adjust Expression |
| Y (Hold) | Back |
| B | Exit Camera |
These labels apply to that active selfie camera state. Hold Y for the displayed Back action; it is not an instruction for opening selfie mode. The view does not establish equivalent PlayStation buttons or PC keyboard bindings. Use the labels shown by your own platform rather than converting these controls by guesswork.
A selfie and a photograph of someone else are different subjects. If the scene requests Alfred with a companion, a landscape taken from the same spot is not equivalent. Frame the people the moment involves and complete the action the scene offers.
If you are pursuing a photography achievement, its condition may add another requirement beyond ordinary story progression. Keep that separate from learning the controls. Successfully taking a selfie does not by itself prove that every related achievement condition has been met.
Resolve a missing action prompt carefully
Some interactions can be sensitive to viewing angle. If an object is clearly relevant but the prompt is absent, adjust the viewpoint and Alfred's position before repeatedly pressing the action. This is especially useful for ordinary objects that need inspection or use outside the camera mode.
For photography, begin by checking whether the correct subject is visible and whether dialogue is still active. Lower the camera if necessary, let the current exchange finish, and then return to the intended shot. A transitioning scene can be waiting for something other than another exposure.
A short recovery sequence keeps the checks focused:
- Read the latest task or listen to the most recent instruction.
- Confirm whether the action is a photograph, an object interaction, a conversation, or an album step.
- Wait for active dialogue or a transition to finish.
- Reposition so the relevant subject or object is clearly visible.
- Follow the current prompt and watch for the expected scene response.
If this still does not explain the pause, avoid inventing a control combination from a different game or platform. Return to the current game's tutorial and prompts. A guessed binding can make a scene-specific problem look like a controls problem while leaving the actual required action untouched.
Recognise completion by the action's result
| Action | What you are trying to complete | Useful result to watch for |
|---|---|---|
| Prompted photograph | A named scene subject | The objective or scene moves forward |
| Optional travel photograph | An image you want to keep | The picture enters the current photo choices |
| Developed print | The opening print interaction | The image develops and can be placed |
| Journal selection | A limited album choice | The selected photograph is placed in the journal |
| Vignette photograph | A revealed memory | The memory response plays |
| Selfie | Alfred in the current picture | The scene produces the intended portrait |
These results give the controls a purpose. Learn the prompts as you encounter them, keep track of the current subject, and finish any action that comes after the shutter. That is the most reliable way to use the camera throughout a trip whose scenes do not all ask for exactly the same thing.