
This route covers the full story and includes ending spoilers. Use the section for your current destination if you only need the next interaction. The optional checks link to their detailed guides; the steps below keep the main story moving.
Woolson Falls
- In the opening bedroom, learn the camera with the manual. Complete the curious-object photo sweep before the calendar and Alfred-at-window transition.
- Photograph Alfred posing outside the window. During the drive, respond to the conversation and photograph the Woolson Falls sign when it is pointed out.
- After arriving, crouch to frame the flowers, then photograph Alfred’s pose. Continue to the trail sign and the later requested portrait.
- When Audrey hands Alfred the camera, follow her along the trail and continue the dialogue.
- At the final shared photograph, develop the print when prompted, open the journal and place it inside.
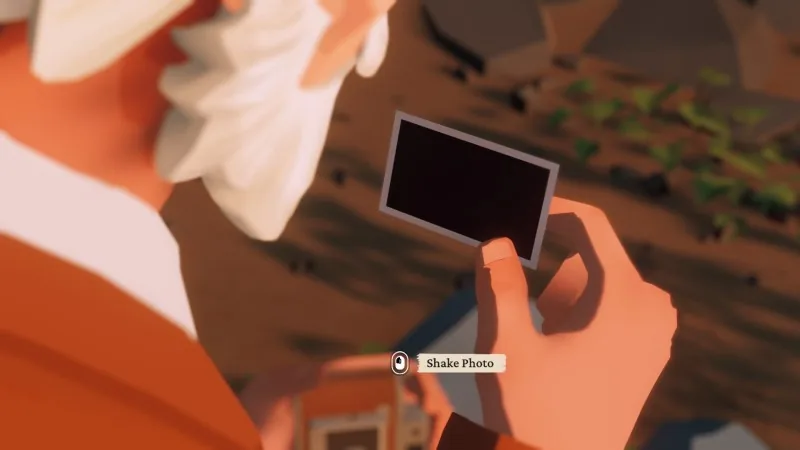
If the chapter is waiting after the photograph, finish the print and album actions. The opening photo route explains the individual subjects.
Karl’s Pump ’N’ Mart
- Before checkout, explore the playground and giant pumpkin display for the two gas-station memories, and use both rest opportunities.
- Speak to Milton inside and pick up the red basket near the entrance.
- Find the windshield wipers at the far end on the right, cookies on the opposite side and the road atlas by the toilet-paper area and old photograph.
- For Patience Of A Saint, let Milton finish the atlas and wiper speeches before taking the items. For Shopaholic, add the optional products before paying.
- Pay at the counter and follow the prompted memory and dream passage. Complete the subsequent wallet/payment action when control returns.
- At the campsite, choose the photographs to put in the journal and continue the journey.
The gas-station route and Milton selfie guide keep the photography tasks separate from shopping.
Highway Star Diner
- Leave the motel room, head toward the diner, then use the fence near the van to reach the telescope-side flower patch. Pick Audrey’s flowers.
- Inside the diner, find the jukebox and play Green Green Grass of Home by Patti Page.
- Try the booth, then speak to Maddy at the counter about its access restriction.
- Exit, turn right through the fence and investigate the hole and rubbish behind the restaurant. Photograph the dog and report back to Maddy.
- Sit at the now-accessible booth. Finish any journal prompt and photograph the view through the window when asked.
- In the memory, inspect the gate sign, meet Audrey, look inside the diner and follow the small-case interaction. Continue with Audrey, sit and complete the confession prompt.
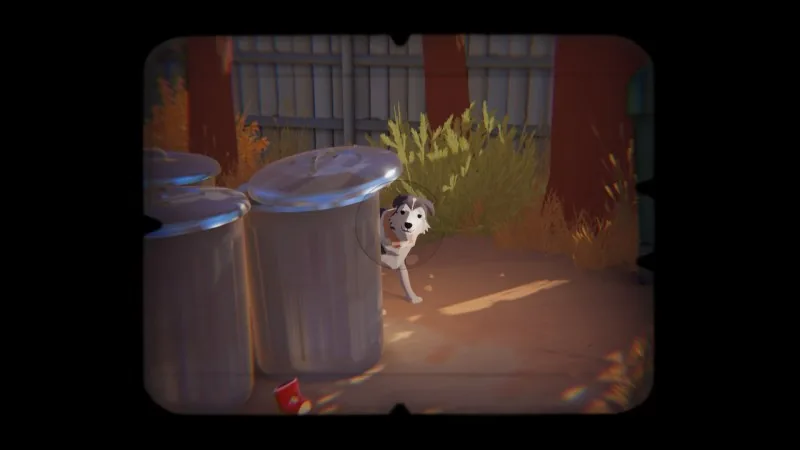
Before the booth transition, check the two memories and three rests around this stop. Use the dog route for Maddy’s request and the diner photo route for the window picture.
On The Road Back Home
- When the van breaks down, inspect the leak behind it, the hood at the front and its interior from the right side.
- Enter the van and take the journal from near the dog.
- Leave the van and continue to the phone booth.
- After the cutscene, follow the dream path to the telephone, interact with it and continue through the passage.
This is a short transition with several required inspections. If the phone route has not opened, check the leak, hood, interior and journal rather than searching for a collectible to repair the van.
The Sam Detour
- After waking, read the door note, choose a shirt and inspect the house before going outside to Sam and the van.
- For Stupid Thing!, close the kitchen drawer, leave the kitchen and return to close it again. Complete five closings before leaving the house.
- Inspect the van’s problem areas and follow Sam when Alfred cannot fix it alone.
- Water your side of the plants. Refill at the faucet when needed; Green Thumb requires beating Sam rather than merely helping.
- Follow Sam to obtain the gaskets, then tighten the final bolts after the repair sequence.
- Follow Sam and Doggo into the fields, use the offered fetch interactions, sit and take the shared selfie.
- At the shooting-star choice later in this section, pick an offered wish promptly for Make A Wish.
See Sam’s optional achievement conditions before the gardening and road-camp sequence.
Captain Marley & The Buccaneers’ Retreat
- Examine the entrance booth, continue to reception, obtain a day ticket and enter the resort.
- Follow the right-side route through the narrow passage toward the captain’s galley. Climb the stairs and complete the dream sequence.
- After returning, use the planks to cross the floor gap and collect the bolt cutter.
- Cut the balcony lock and use the ladder down. Open the Skull and Coins arcade, switch on its lights and play the cabinet at the back.
- For the achievement, beat Guardian Lord’s displayed record; simply playing can clear the story task.
- Open the souvenir shop and collect the mascot item beside the parrot. Follow the journal’s remaining resort tasks.
- Before boarding, return to the entrance for Marley’s bobblehead, inspect the written clues, complete three vignettes and use the final rest.
- Unlock the harbor, take the boat and make a complete spin for Bowside 360 if collecting achievements. Photograph the boat scene when prompted.
- In the memory, coordinate rowing with Audrey by responding after her turn. Reach the island, follow her and complete the scene. Back in the present, carve the tree when prompted.
The resort checklist keeps these independent objectives visible before departure.
Winslow Lighthouse
- Complete the animal-shelter stop and continue the drive.
- At the lighthouse morning, make coffee and feed Doggo before following Charles.
- During the seated photography sequence, take the requested pictures as the viewpoint changes.
- For It’s A Bird, It’s A Plane, It’s Doggo, use the nest-photography moment to lower the camera and photograph Doggo instead.
- Continue along the path, inspect the lighthouse entrance sign and take the photograph aimed at the top of the lighthouse.
- Enter, climb the stairs and let the following memories and cutscenes finish.
Use the lighthouse subject comparison if the ordinary nest picture and achievement shot are getting mixed up.
Williamina Peak
- During the worsening weather, increase the wiper speed when prompted.
- After the crash, follow the dream passage. When Alfred wakes, look for Doggo’s tracks in the snow immediately ahead.
- Follow the tracks and call out. For Shaun and Jason, make at least 30 calls while the search is available, before the reunion closes the opportunity.
- Once reunited, continue up the stairs and follow the final dream passage through its door.
- Place the tray beside Audrey, feed her soup and complete the conversation.
- After the flashback, open the drawer, examine the journal and read Audrey’s final note.
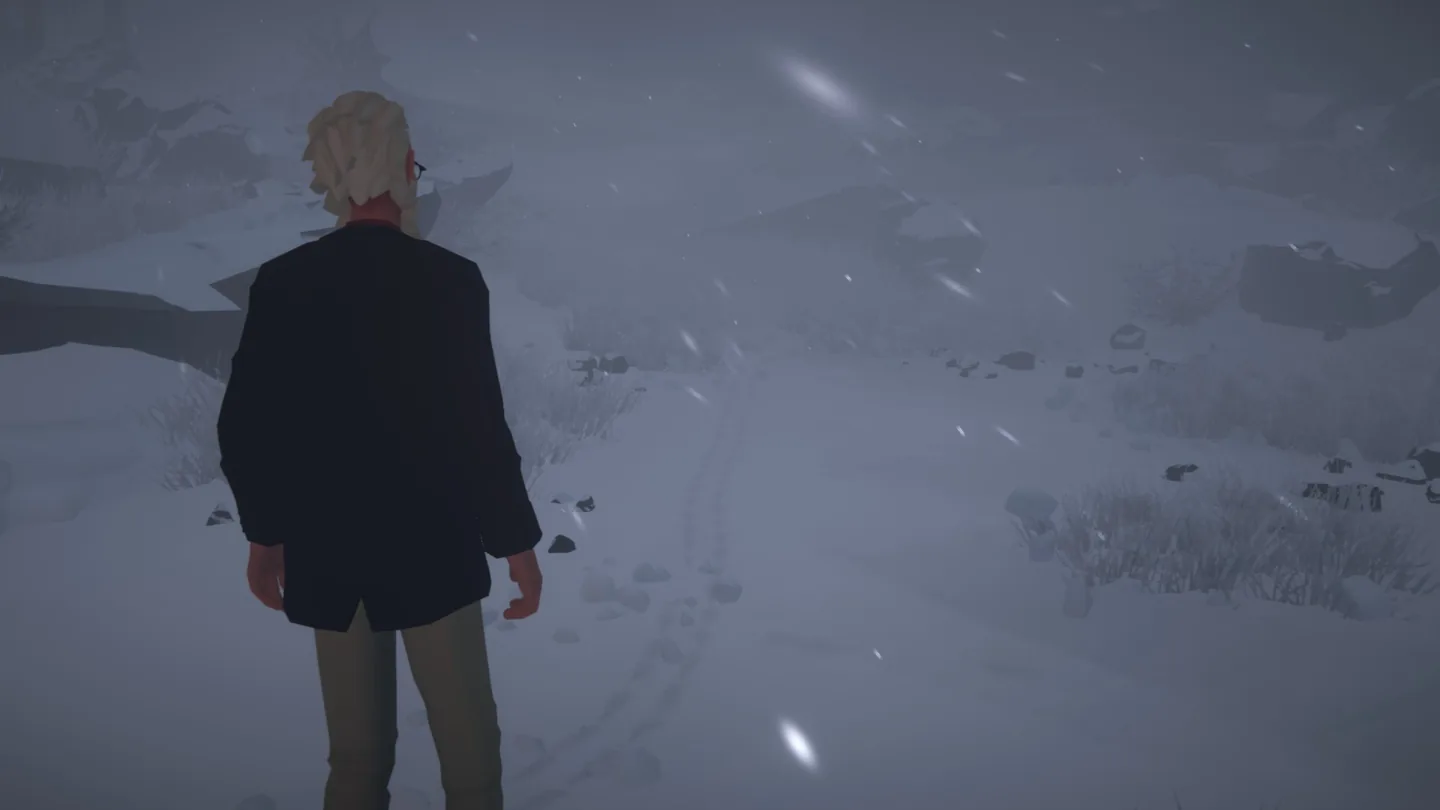
The mountain route explains the search landmarks. The ending explanation separates events from their interpretation.
Epilogue
Explore the house before finishing the kitchen and Doggo sequence. Find and inspect Audrey’s seven mosaic pumpkins across the office, hallway, bathroom, stairwell and living/dining areas. Then prepare dinner and go to play with the dog to complete the final scene.
After the story, review the achievement list before choosing chapter replay. A replay target should be a specific missing action, not a guess that finishing the same chapter again completes every optional objective.
Sources and verification
The route uses the release footage and existing illustrated guides. It does not claim a separate playtest on every platform. Official achievement wording establishes a goal; it does not by itself prove each location or recovery rule.